Getting Started
This guide will help you get up and running with the Fare Adjustment Tool.
Logging In
The Fare Adjustment Tool uses single sign-on (SSO) authentication.
- Navigate to the Fare Adjustment Tool URL provided by your administrator
- You will be redirected to the login page
- Click the login button to authenticate with your organization credentials
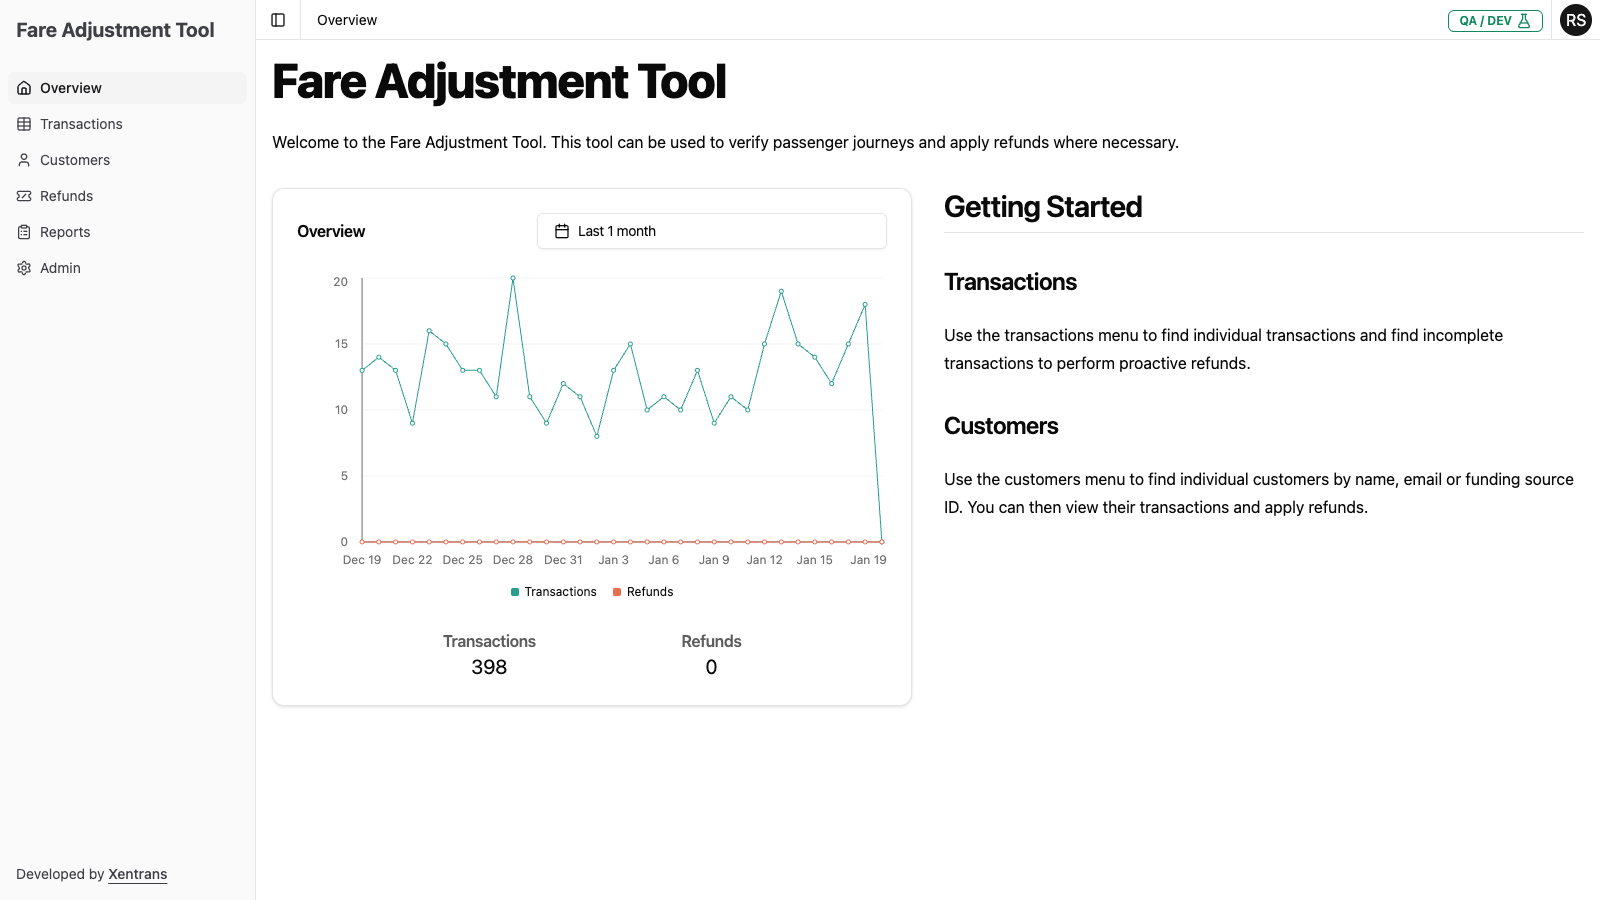
- Once authenticated, you will be redirected to the Overview dashboard
Navigation
The main navigation menu is located on the left side of the screen:
| Menu Item | Description |
|---|---|
| Overview | Dashboard with transaction trends and summary statistics |
| Transactions | View and filter all transit transactions |
| Customers | Search and view customer information |
| Refunds | View refund history and track refund status |
| Reports | Generate and download reports |
Sidebar Toggle
The navigation sidebar can be collapsed to provide more screen space for viewing data tables. Click the Toggle Sidebar button (the icon in the top-left corner of the main content area) to show or hide the sidebar.
- Sidebar visible: Shows the full navigation menu with icons and labels
- Sidebar hidden: Maximizes the content area for better viewing of tables and data
The sidebar state is remembered as you navigate between pages during your session.
Common Workflows
Finding a Customer's Transactions
- Navigate to Customers in the left menu
- Use the search box to find a customer by name, email, or funding source ID
- Click View next to the customer
- Select the Transactions tab to see their transaction history
Reviewing Incomplete Transactions
- Navigate to Transactions in the left menu
- Use the filter dropdown to select Incomplete Transactions
- Adjust the date range as needed
- Review transactions that are missing tap-off events
Processing a Refund
- Find the transaction via Transactions or through the Customers page
- Click View to open the Transaction Detail page
- Click Issue Refund in the Charges and Refunds card
- Complete the refund form (type, reason, amount, notes)
- Review and confirm the refund
See Issuing Refunds for detailed instructions.
Generating a Refund Report
- Navigate to Reports in the left menu
- Select the desired Year and Month
- Click Download CSV Report to export the data
Next Steps
- Learn about the Overview Dashboard
- Understand Transaction Statuses
- Review the Glossary for terminology